
[Code Review] #7.4 App part
2023년 4월 21일 코드 리뷰 _ nomadcoders #7.4 App part Two
bast movie 페이지 구현
💭 App.js
import { useEffect, useState } from "react";
import Movie from "./Movie";
function App() {
  const [loading, setLoading] = useState(true);
  const [movies, setMovies] = useState([]);
  const getMovies = async () => {
    const json = await (
      await fetch(
        `https://yts.mx/api/v2/list_movies.json?minmum_rating=8.8&sort_by=year`
      )
    ).json();
    setMovies(json.data.movies);
    setLoading(false);
  };
  useEffect(() => {
    getMovies();
  }, []);
  return (
    <div>
      {loading ? (
        <h1>Loading...</h1>
      ) : (
        <div>
          {movies.map((movie) => (
            <Movie
              key={movie.id}
              coverImg={movie.medium_cover_image}
              title={movie.title}
              summmary={movie.summay}
              genres={movie.genres}
            />
            //commponent
            //movie.medium_cover_image 해당 부분은 API에 있는 것과 같아여 하는데
            //이건 ApI에서 받는 data이기 때문이다.
            // coverImg 해당 변수명은 마음대로 지어도 된다.
          ))}
        </div>
      )}
    </div>
  );
}
export default App;
💭 movie.js
import { PropTypes } from "prop-types";
function Movie({ coverImg, title, summary, genres }) {
  //  Movies commponent 가 해당 정보들을 parent commponent 로부터 받아온다.
  // Movie commponent는 이 properties를 부모 component로 부터 받아온다.
  return (
    <div>
      <img src={coverImg} alt={title} />
      {/* 모든 이미지 element들은 alt 속성을 가지고 있가 때문에  */}
      {/* alt 값을 설정해 주지 않으면 error가 발생한다. */}
      <h2>{title}</h2>
      <p>{summary}</p>
      <ul>
        {genres.map((g) => (
          <li key={g}>{g}</li>
        ))}
      </ul>
    </div>
  );
}
Movie.propTypes = {
  coverImg: PropTypes.string.isRequired,
  title: PropTypes.string.isRequired,
  summary: PropTypes.string.isRequired,
  genres: PropTypes.arrayOf(PropTypes.string).isRequired,
};
export default Movie;
💭 index.js
import React from "react";
import ReactDOM from "react-dom/client";
import "./index.css";
import App from "./App6";
import reportWebVitals from "./reportWebVitals";

const root = ReactDOM.createRoot(document.getElementById("root"));
root.render(
  <React.StrictMode>
    <App />
  </React.StrictMode>
);

// If you want to start measuring performance in your app, pass a function
// to log results (for example: reportWebVitals(console.log))
// or send to an analytics endpoint. Learn more: https://bit.ly/CRA-vitals
reportWebVitals();
구현화면
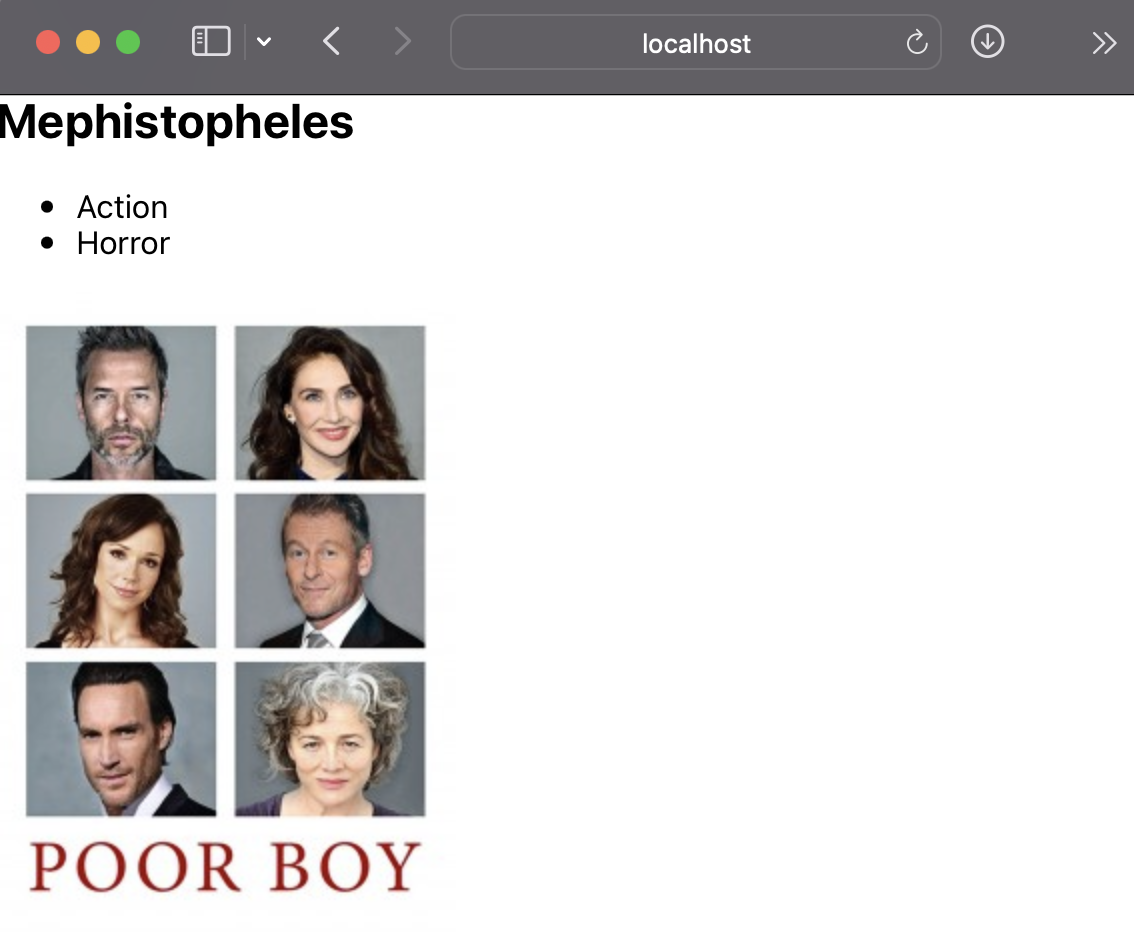
해당 사진 밑으로 다른 영화 들이 쭉 나열되어있는 페이지가 만들어졌다.
이제 다른 페이지로 넘어가도록 기능을 구현해보겠다.!
(예를 들어 localhost:3000/movies/movie.id )
vscode터미널에 라우터를 다운로드 해준다.
npm i react-router-dom@5.3.0
App.js
import { BrowserRouter as Router, Switch, Route, Link } from "react-router-dom";
import Home from "./routes/Home";
// home import
import Detail from "./routes/Detail";
// detail import

function App() {
  return (
    <Router>
      {/* 라우터를 만들어주고  */}
      <Switch>
        <Route path="/movie">
          <Detail />
        </Route>
        <Route path="/">
          {/* 그 안에 라우트를 만들고, 누군가 우리 웹사이트의 "/" url에 있다면
          우리는 Home component 를 보여준다. */}
          <Home />
        </Route>
      </Switch>
    </Router>
  );
}
export default App;

// App.js는 router를 render한다.
// router는 URL을 보고 있는 component고,
// 내가 localhost:3000 이라면 router는 내게
// Home component를 보여주게 될 것이다.
App.js는 router를 render한다. router는 URL을 보고 있는 component고, 내가 localhost:3000 이라면 router는 내게 Home component를 보여주게 될 것이다.
react-router-dom 사용법
react-router-dom 이란?
아주 편리한 component의 모음집이다.
1️⃣ <Router>를 첫번째로 렌더링 해준다.
2️⃣ <Router></Router> 안에 들어가는 것은 유저에게 보여주고 싶은 것들이다.
유저가 있는 url에 따라서 말이다.
3️⃣ <Switch> component를 넣어 준 이유는
한번에 하나의 Route만 렌더링 하기 위해서 이다.
(React Router에서 원한다면 두개의 Route를 한번에 렌더링 할 수 있다.)
4️⃣ <Route path="/"> 의 하위의 <Home /> component를 보여준다.
<Route path="/movie"> 해당 라우트는 <Detail /> 컴포넌트를 보여줄 것이다.
💡 BrowserRouter과 Router 의 차이점
👉🏻 URL의 생김새가 다르다
BrowserRouter의 경우 표준 웹 사이트 처럼 lacalhost:3000/movie 처럼 생겼다
Router 의 경우 lacalhost:3000/#/movie 처럼 슬래쉬 사이에 무언가를 덧 붙인다.
그러하여 대부분은 BrowserRouter를 사용한다! 뒤에 #을 붙이고 싶지 않으니까!
Route에서 Route로 이동
Link component 을 이용을 한다.
즉 페이지에서 또 다른 페이지로 이동 방법
HTML에서 링크 삽입은 아래와 같은 형식으로 삽입했을 것이다.
<a *href*="/movie">{title}</a>
하지만 해당 HTML 코드는 페이지를 새로고침하여 새로운 페이지를 로딩하는 식으로
화면이 넘어간다는 점이 특징인데 이런 점을
매끄럽게 개선 하기 위해 React를 사용하는 것이다!
Link component 는 새로고침 없이도
유저를 다른 페이지로 이동시켜주는 component이다.
위의 코드를 React 식으로 바꾸어 보겠다.
Link component 사용 예시
1️⃣
import { Link } from "react-router-dom";
상단에 Link component 를 import 해준다.
2️⃣
<Link to="/movie">{title}</Link>
그리고 Link to =”” 를 사용해서 {title}에 링크를 걸어준다.
{title} 제목을 누르면 주소가 /movie 인 컴포넌트로 이동하게 되는된다!
그렇다면 주소가 /movie 인 컴포넌트는 어떤 내용을 담고 보여줄까?
아래의 코드와 멘션을 참고 바란다.
3️⃣
<Route path="/movie">
  <Detail />
</Route>
이전에 App.js에서 /movie 의 주소를 Detail.js 컴포넌트로 연결해놨기 때문에
Detail.js 안의 내용이 보이게된다. !
이슈 사항
- Link to =”movie” 를 하면 URL만 바뀌고 화면은 그대로 Error
- 해결 방법
const root = ReactDOM.createRoot(document.getElementById("root"));
root.render(
  // <React.StrictMode>
  <App />
  // </React.StrictMode>
  //시크릿 모드는 보안 모드라 정상 구현 확인이 되지 않아
  // 잠시 주석 처리 해두었다.
);
- 해결 방법
- Typo in static class property declaration react/no-typos Error
- 해결방법 npm install을 하고 서버를 종료했다가 다시 로드 했다.
- Typo in static class property Error
- 해결방법
 App.js component ‘PropTypes’ 👉🏻 ’ propTypes’ 변경
- 해결방법
Leave a comment